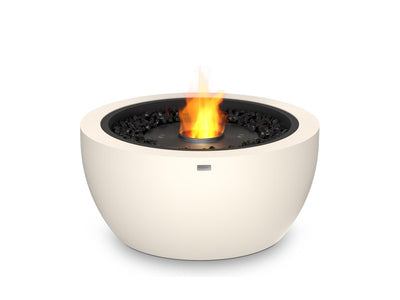
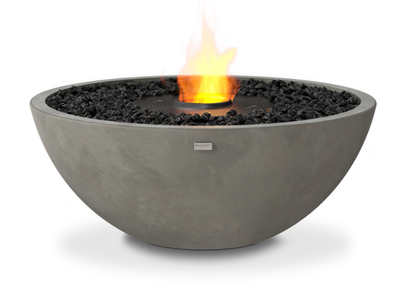
Ever seen a Fire Table flame look a little uneven and wondered what's going on underneath? For an EcoSmart burner, the proper procedure is simple: let it cool for at least 60 minutes, wipe the stainless steel reservoir with mild soap and water, clean the glass media separately, and check the Efficiency Ring is seated properly. There's no gas valve, igniter or ports to service, because there isn't a gas system to begin with.
Before You Start: Cooling Down and Handling Fuel Safely
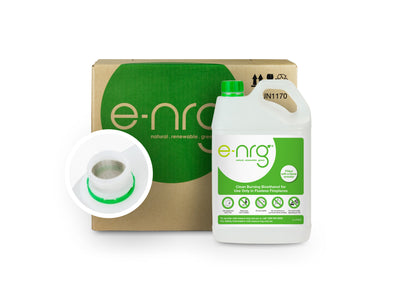
The AB8 burner needs a minimum of 60 minutes to cool before you touch it, refuel it or clean it. If there's fuel left in the reservoir, let it burn down naturally rather than trying to tip it out while warm. Never top up fresh e-NRG bioethanol onto a burner that's still warm; fuel should only ever be added once the reservoir has properly cooled, using the safety nozzle or bottle adaptor rather than pouring straight from the bottle.
Cleaning the Stainless Steel Reservoir
Because the AB8 is a single grade 304 stainless steel reservoir rather than a network of gas jets, there's genuinely less to clean than a gas burner. Wipe the inside and outer rim with warm water and mild dish soap on a soft cloth or microfibre, working with the grain of the metal rather than against it. There are no burner ports to search for blockages, because the flame runs along the open rim of the reservoir, not through drilled jets. Dry the reservoir fully afterwards; leftover moisture is what causes water spotting on stainless steel over time.
Cleaning the Efficiency Ring and Glass Media
If your table uses an Efficiency Ring, take it out and wipe off any dust or fuel residue before reseating it correctly. It's a simple piece of equipment, but it needs to sit properly to do its job: it's what stretches a full 8 L fill from around 7–9 hours of burn time to 9–11 hours, cutting fuel use by roughly a third.
Lift out the glass media before you clean underneath it. Rinse it gently in warm water, then let it dry completely before returning it to the burner. There's no lava rock to worry about in an EcoSmart table; the tempered glass media doesn't absorb soot or moisture the way porous stone does, so it's a straightforward rinse-and-dry job.
What You Don't Need to Do
It's worth being clear about what an EcoSmart burner doesn't require, because a lot of generic "fire pit cleaning" advice assumes a gas system that simply isn't there. There's no spark igniter or electrode gap to adjust, because ignition is manual: a lighting rod and a fire lighter, every time. There's no gas fitting to leak-test with soapy water, because there's no gas line, hose or bottle connected to the unit at all. There's no venturi tube or jet port to clear of spiders or dust. The whole system is a sealed stainless reservoir holding liquid fuel, which is a large part of why it's simpler to maintain than a gas fire table.
Final Check Before Relighting
Before lighting the burner again, run through a quick check:
- Glass media is dry and evenly spread
- The stainless steel reservoir is wiped clean and fully dry
- The Efficiency Ring is seated correctly, if you're using one
- Clearance is maintained: 2,000 mm above and 600 mm from anything fixed if it's outdoors, or the Indoor Safety Tray and Efficiency Ring are fitted with adequate ventilation if it's indoors
Once that's done, light it with the lighting rod and fire lighter as usual. A well-maintained EcoSmart burner should give you an even, steady flame along the full length of the reservoir, and because there's no gas system to fault-find, most burner issues genuinely come down to nothing more than the glass media needing a rinse.
Frequently asked questions
What is the proper procedure for cleaning a fire table burner?
Let the EcoSmart burner cool at least 60 minutes, wipe the grade 304 stainless reservoir with mild soap and water, clean the glass media separately, and check the Efficiency Ring is seated. There is no gas valve, igniter or ports to service.
How long should a fire table burner cool before cleaning?
A minimum of 60 minutes. Let any leftover fuel burn down naturally rather than tipping it out warm, and never add fresh e-NRG to a warm reservoir.
Do you need to clean burner ports on an EcoSmart fire table?
No. The flame runs along the open rim of a single stainless reservoir, not through drilled jets, so there are no ports, venturi tubes or gas fittings to clear.
What should you check before relighting a fire table burner?
That the glass media is dry and evenly spread, the reservoir is wiped clean and dry, the Efficiency Ring is seated, and clearances are kept (2,000 mm above and 600 mm from fixed objects outdoors).
You May Also Like:
About the author:
“I have a real passion for helping transform outdoor spaces so people can relax, connect and entertain with confidence and pride. With My Acre, I love guiding homeowners to create beautiful and functional outdoor living areas."